- VC dll
These is sample code for Created C Style DLL. Especially, the implementing function is used C++ class. If any Result want to catch, using Pointer(call by pointer) or reference (call by reference) is enabled. Any "Create Pointer" in "VC dll" is only deleted by VC dll itself.//GlobalHeader.h#pragma onceclass A_Header{public:A_Header() {};virtual ~A_Header() {};virtual int ADD( int a, int b)=0;}//-------------------------------------------------------------------------------------------------------------#ifdef DLLDIR_EX#define API __declspec(dllexport) // export DLL information#else#define API __declspec(dllimport) // import DLL information#endiftypedef void * PTR;extern "C"{API PTR DEMO_Create();API void DEMO_Free(PTR aThis);//Define FunctionsAPI int DEMO_ADD( PTR aThis, int a, int b);}//GlobalHeader.cpp#include " GlobalHeader..h"#include "TEST.h"#define THIS reinterpret_cast< Header *>( aThis )extern "C"{//-------------------------------------------------------------------------------------------------PTR DEMO_Create(){return new TEST();}//-------------------------------------------------------------------------------------------------void DEMO_Free( PTR aThis){delete THIS;}//-------------------------------------------------------------------------------------------------int DEMO_ADD( PTR aThis, int a, int b){return THIS->ADD( a, b);}}//TEST.h//Define Class and Implement
#include "GlobalHeader..h"
#include <iostream>class TEST :: public A_Header{TEST();virtual ~TEST();virtual int ADD( int a, int b);}//TEST.cppTEST::TEST() { std::cout << “create ptr” << endl; }TEST::~TEST() { std::cout << “delete ptr” << endl; }int TEST::ADD( int a, int b) { return (a + b); } - C++ builder
How to used dll of step1? In below demo, the name of dll is test.dll.
2.1. Getting c++ builder style lib, entered below command in command window.
implib -a btest.lib test.dll
2.2. Include GlobalHeader.h
2.3. Create PTR
PTR ptr = DEMO_Create();
2.4. Used Function
int result = DEMO_ADD( 1, 2);
2.5. Delete PTR
DEMO_Free(ptr);
2015年11月7日 星期六
Visual Studio C++ 2012 DLL V.S. C++ Builder XE DLL
Visual Studio 2012 v.s. Opencv 3.0 v.s. XP
Opencv 3.0 static(for windows)安裝注意事項
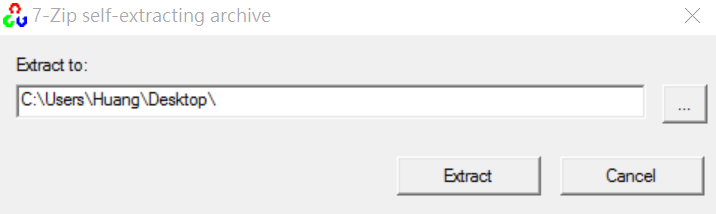
- Download Opencv 3.0A
- 執行opencv-3.0.0,並選擇安裝位置
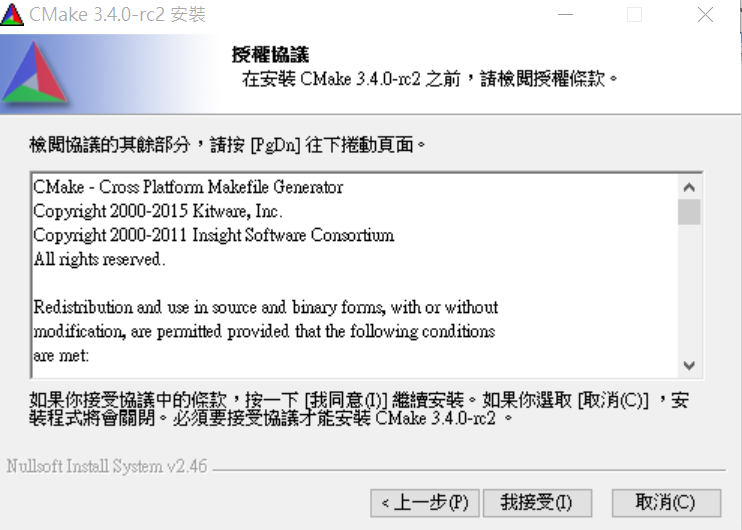
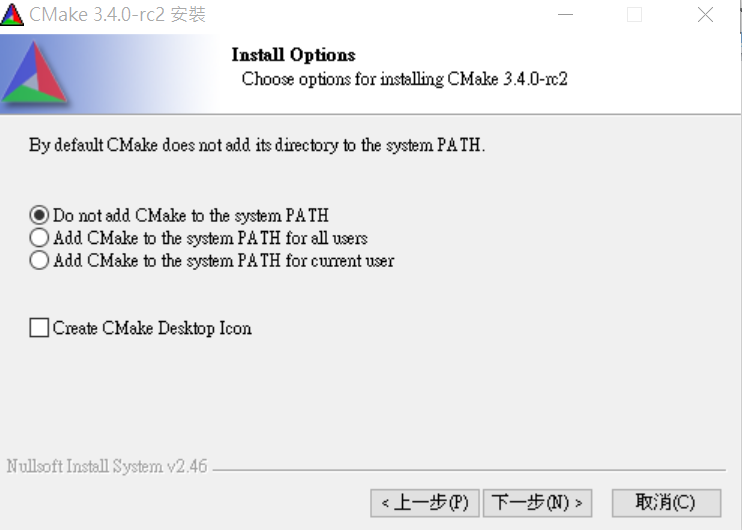
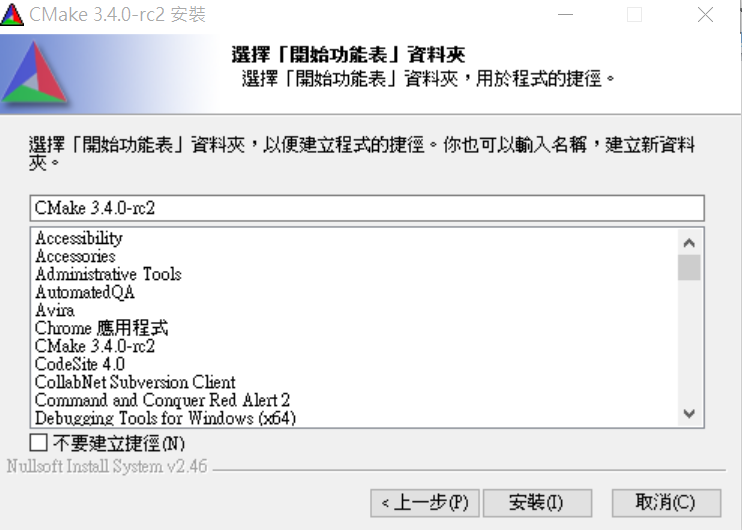
- 安裝Cmake(注意作業系統與位元)


- CMake Stage
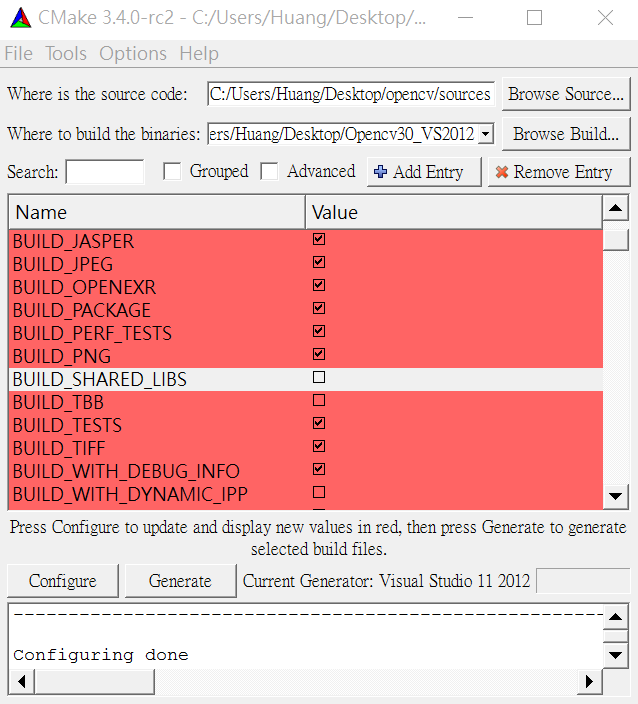
4.1. 選擇Opencv source code 位置,此位置為步驟2指定之位置
(i.e. …/opencv/sources)
- 選擇目標輸出位置(新增資料夾)
- 按下Conifgure

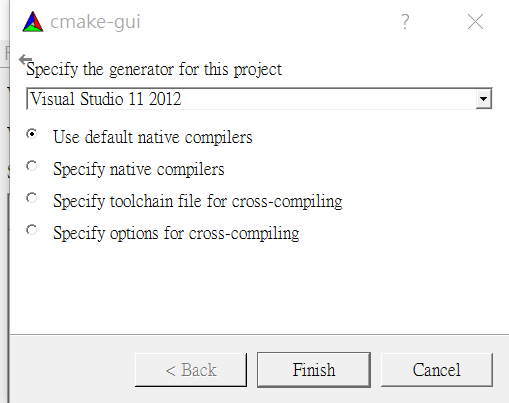
- 選擇Compiler(以visual studio 11 2012 32 bit 為例)
- 產生static lib設定(如果需要產生dll,請省略此步驟)
BUILD_SHARE_LIBS取消勾選
BUILD_WITH_STATIC_CRT勾選

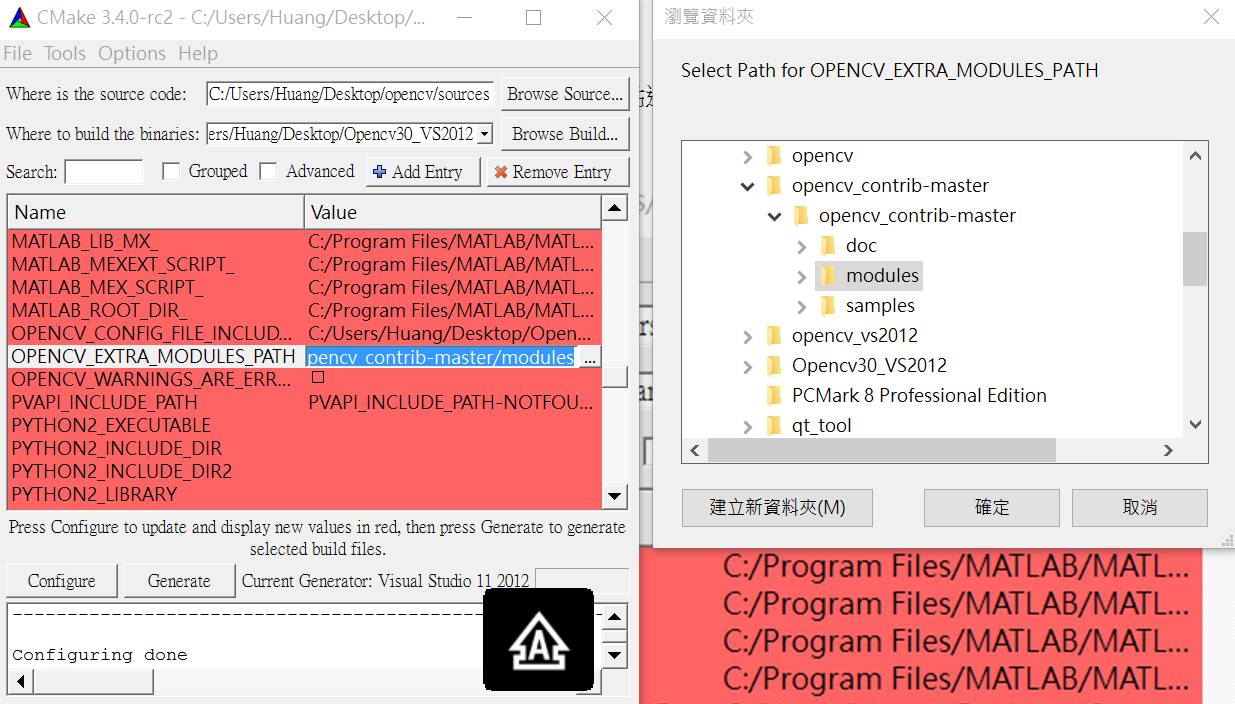
- Extra modules設定(如果需要使用extract module,請省略此步驟)
- 下載後解壓縮。回到CMAKE點選OPENCV_EXTRA_MODULES_PATH,選取先前解壓縮路徑…\opencv_contrib-master\opencv_contrib-master\modules
- 如果有執行4.6或4.7,請再按一次Generate按鈕,設定才會被產生
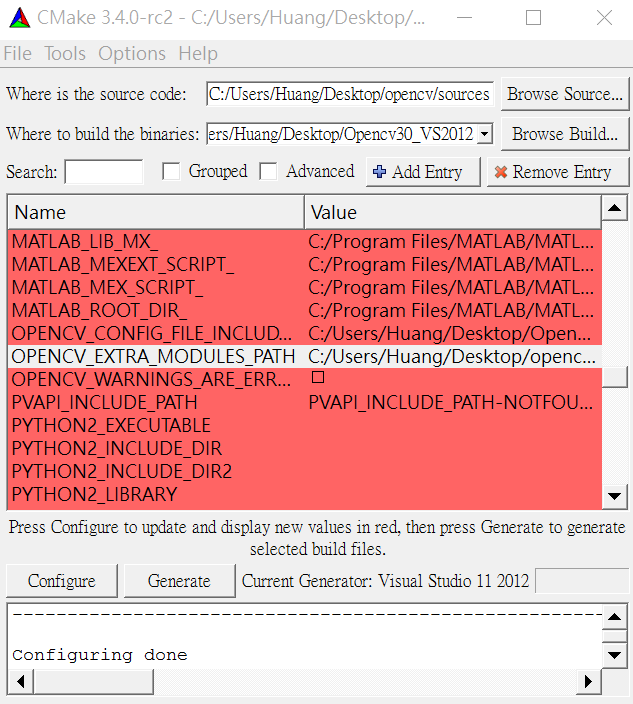
- 完成上述動作後,請按Generate按鈕,產生visual studio project(此範例使用VS2012 update 4)
- Visual studio 2012 stage
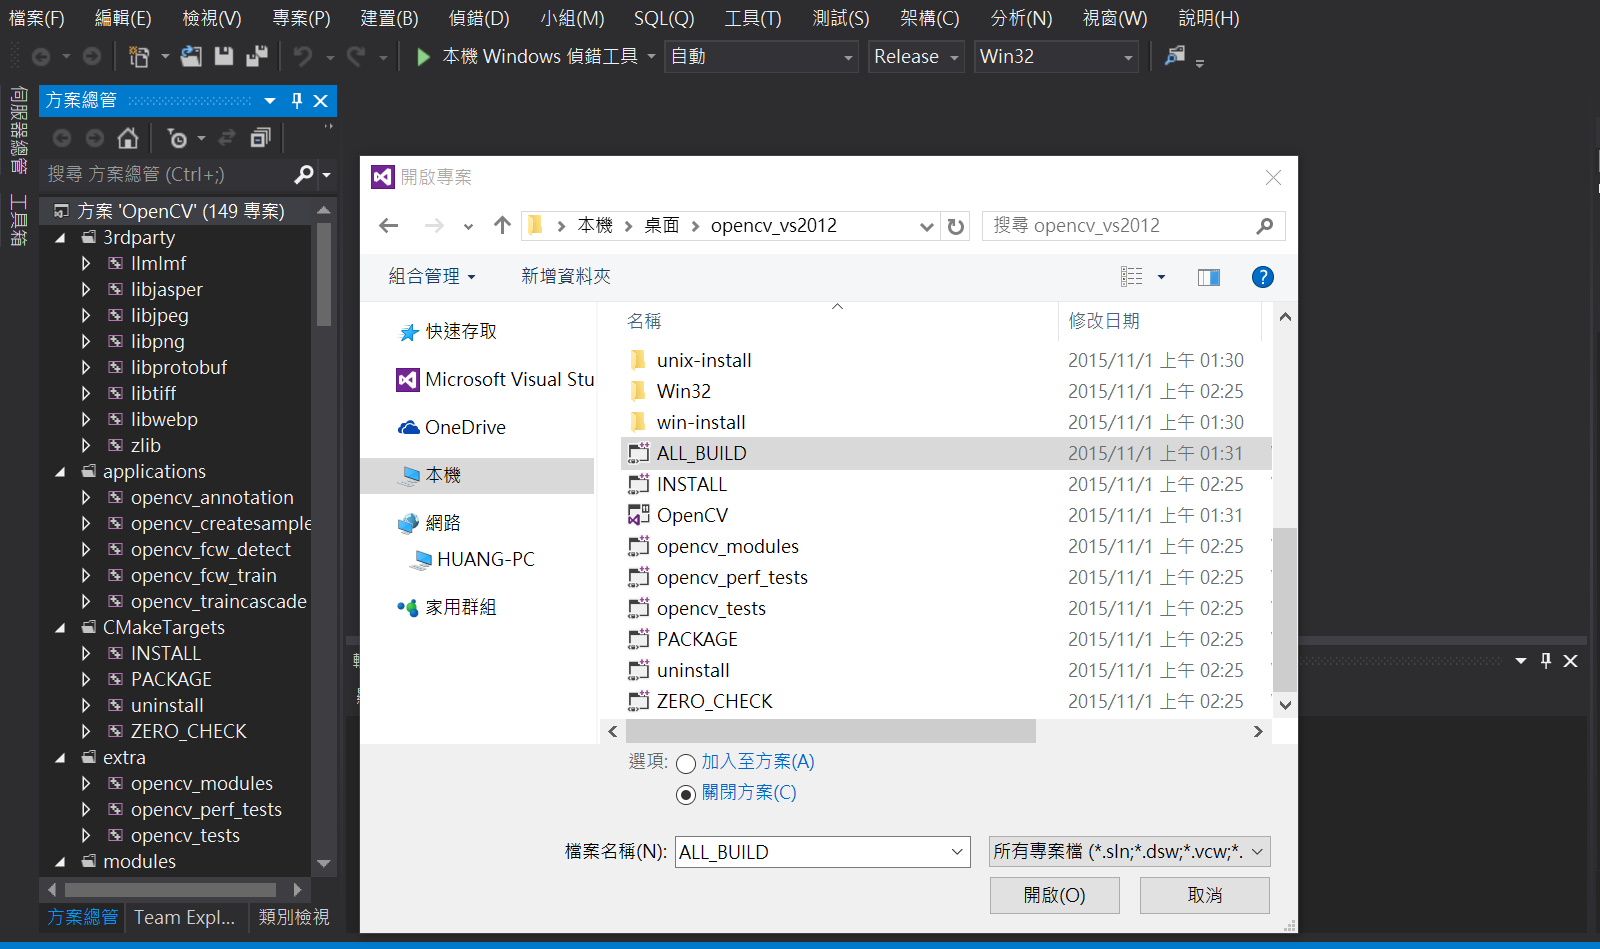
- 開啟visual studio,檔案(F)->開啟(O)->專案/方案(P),開啟步驟4產生ALL_BUILD.vcxproj
- 選擇release模式(選擇release模式是因為,VS在產生library時候,會對執行效能進行最佳化)
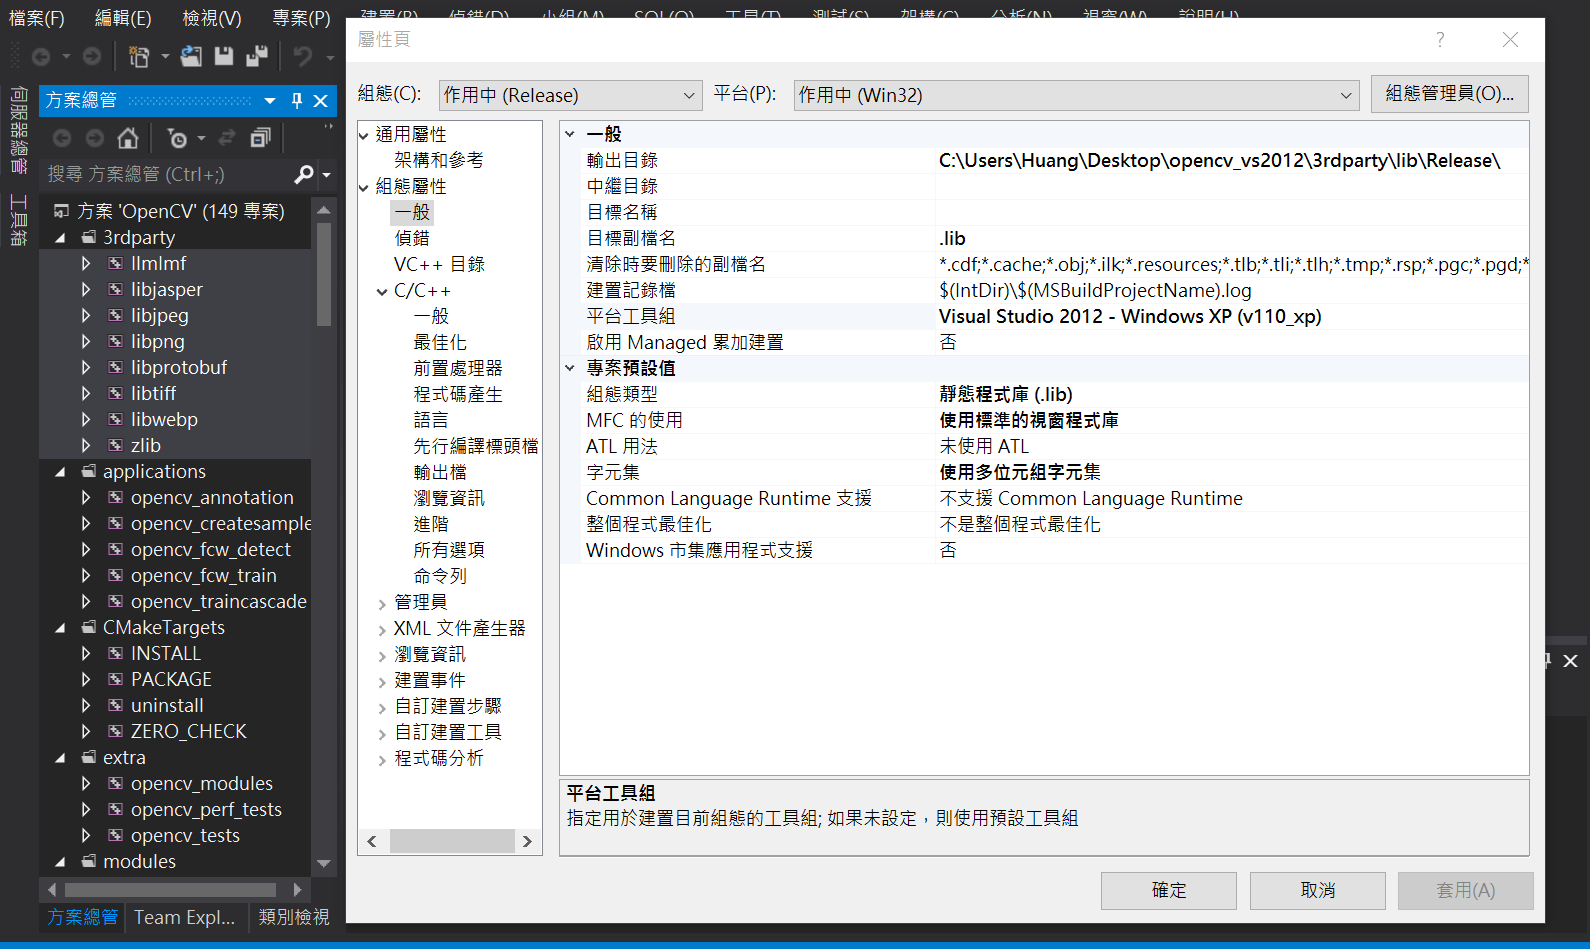
- (重要),若需要產生Windows XP可以用的static library或dll,需要進行以下步驟
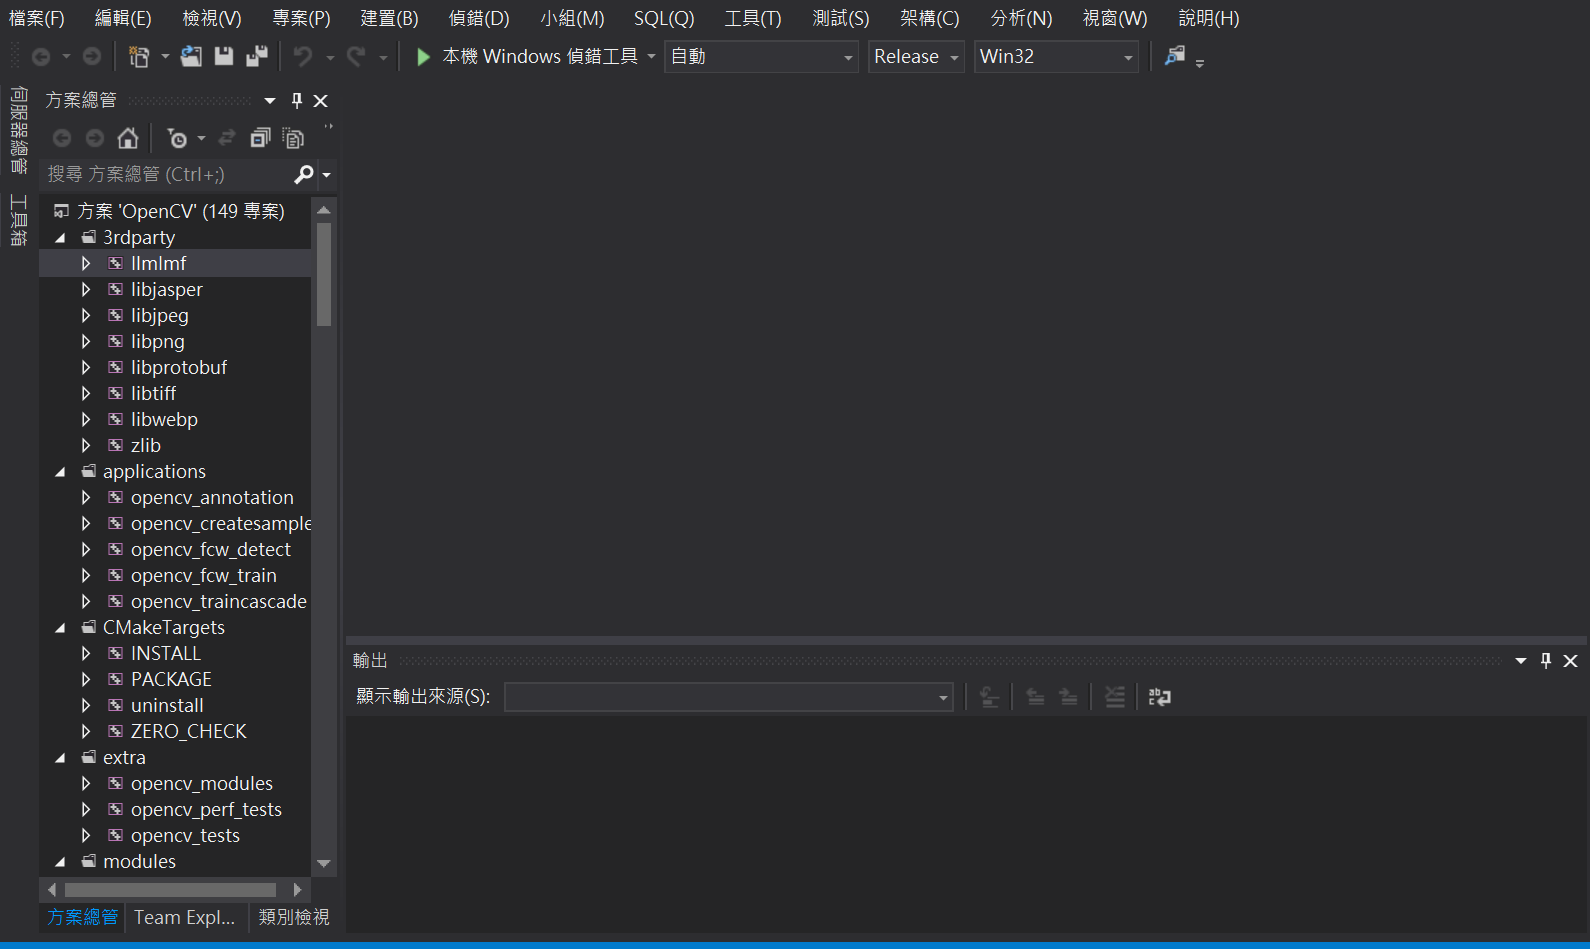
- 請將所有3rdparty、modules、object_libraries內容,屬性(R)->組態設定->一般->平台工具組改為Visual Studio 2012 - Windows XP (v110_xp)。如果平台工具組沒有此設定,請將VS2012更新至最新版。
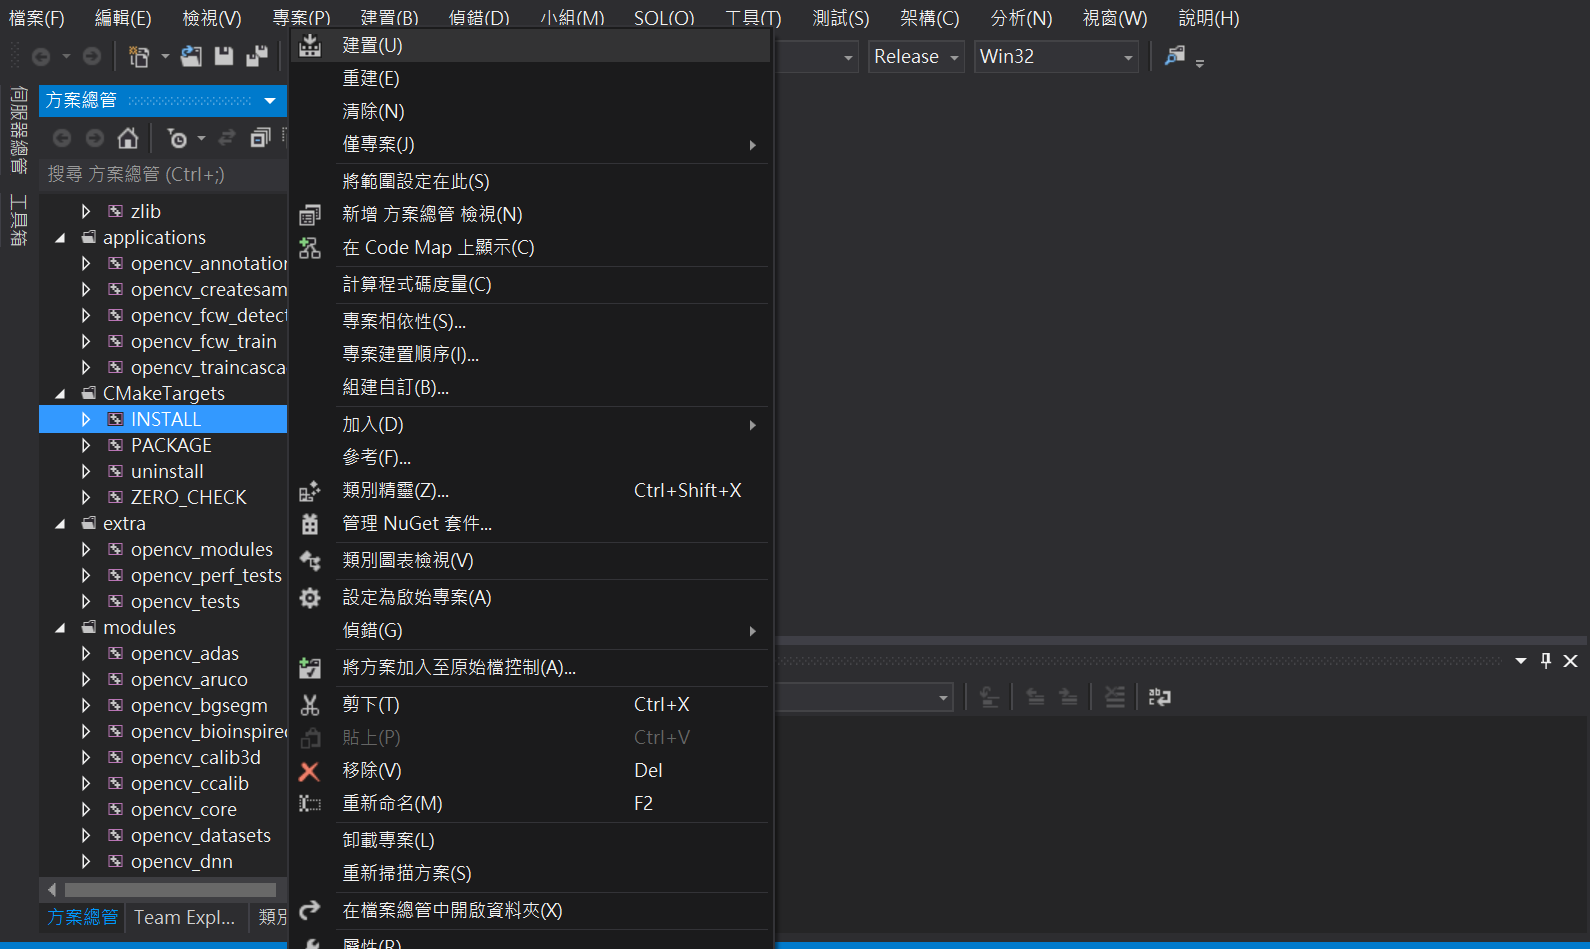
- 滑鼠右鍵點選INSTALL,點選建置,此時產生lib或dll的程序開始。
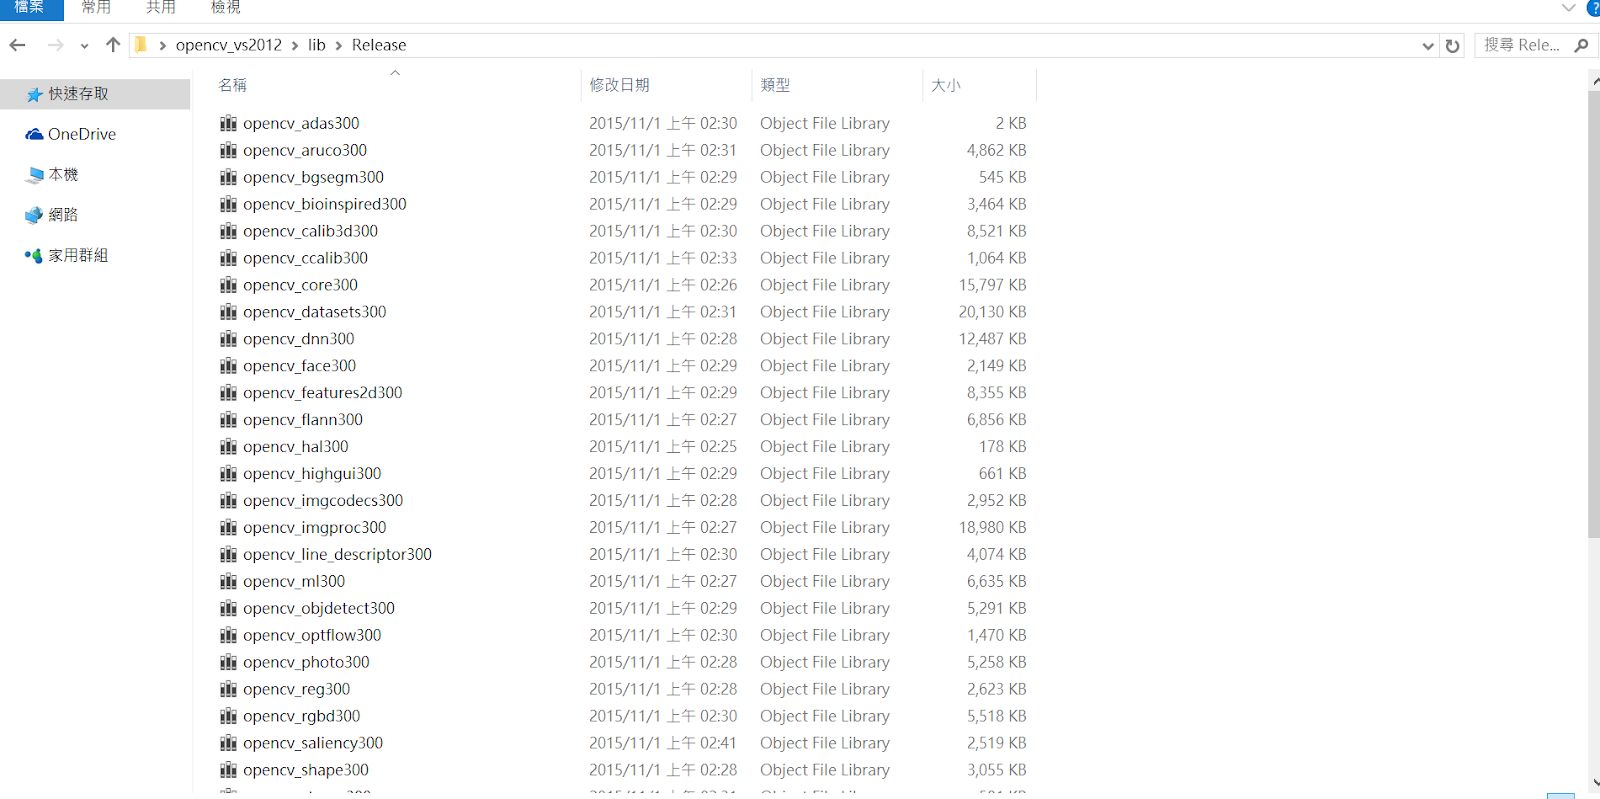
- 完成後可以看到產生的lib
- 使用Opencv 3.0
以下檔案可在步驟4.2中的資料夾中獲得
- 使用函示庫
使用static lib,其中可在…\install\x86\vc11\staticlib找到。若少加入ippicvmt.lib,Compile可能會出現ipp之類的錯誤。
IlmImf.lib
|
opencv_hal300.lib
|
opencv_ts300.lib
|
ComCtl32.lib
|
libjasper.lib
|
opencv_highgui300.lib
|
opencv_video300.lib
|
Gdi32.lib
|
libjpeg.lib
|
opencv_imgcodecs300.lib
|
opencv_videoio300.lib
|
kernel32.lib
|
libpng.lib
|
opencv_imgproc300.lib
|
opencv_videostab300.lib
|
Ole32.lib
|
libtiff.lib
|
opencv_ml300.lib
|
opencv_xfeatures2d300.lib
|
OleAut32.lib
|
libopenblas.dll.a
|
opencv_objdetect300.lib
|
opencv_xobjdetect300.lib
|
shell32.lib
|
opencv_calib3d300.lib
|
opencv_photo300.lib
|
opencv_xphoto300.lib
|
User32.lib
|
opencv_core300.lib
|
opencv_shape300.lib
|
zlib.lib
|
Vfw32.lib
|
opencv_features2d300.lib
|
opencv_stitching300.lib
|
ippicvmt.lib
| |
opencv_flann300.lib
|
opencv_superres300.lib
|
AdvAPI32.lib
|
- Header:
…\install\include
… \install\include\opencv
… \install\include\opencv2
- 常見問題
- 出現unresolved external symbol將所有6.1的lib都加入程式裡
- 出現error LNK2038: 偵測到 'RuntimeLibrary' 不符: 'MT_StaticRelease' 值與 'MD_DynamicRelease' 值。點選專案名稱,滑鼠按右鍵->屬性->組態屬性->C/C++->程式碼產生->執行階段程式庫,修正為/MT或/MD,改為其中一個。
Reference:
1. Opencv 3.0 http://opencv.org/opencv-3-0.html
2. CMake 3.3.2 https://cmake.org/
3. ippicv http://sourceforge.net/projects/opencvlibrary/files/3rdparty/ippicv/
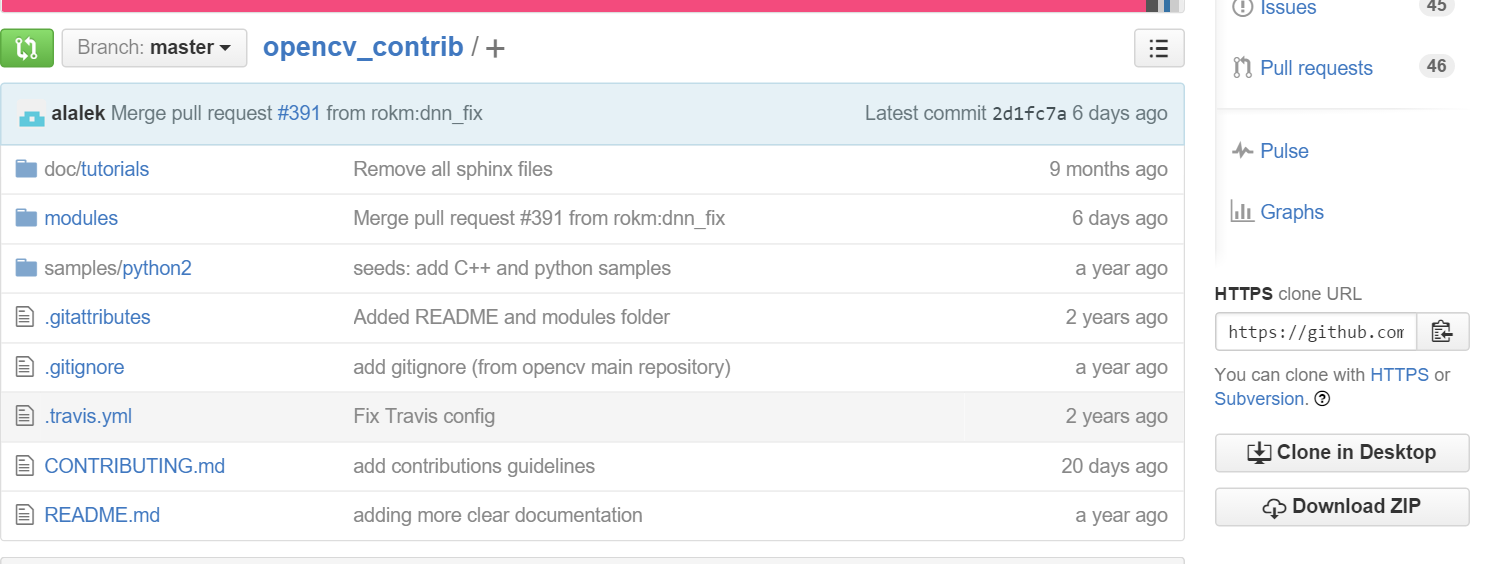
4. opencv extra module https://github.com/itseez/opencv_contrib
訂閱:
文章 (Atom)